DNIS: Dialed Number Identification Service
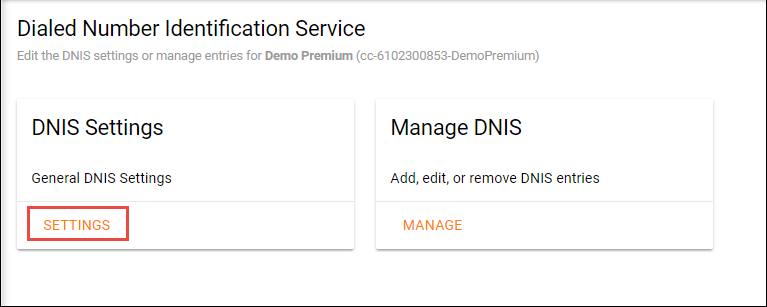
DNIS Settings
Display Settings
Settings:
- Display DNIS Number to agent when presenting call instead of Call Number: Enabling this will display to the agent the specific DNIS number dialed instead of the Caller ID phone number
- Display DNIS Name to agent when presenting call instead of Calling Name: Enabling this will display to the agent the specific DNIS name dialed instead of the Caller ID name
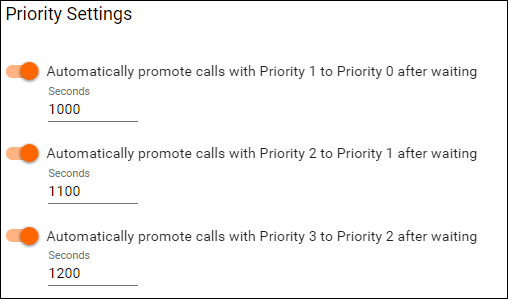
Priority Settings
Settings:
- Automatically promote calls with Priority 1 to Priority 0 after waiting (x) seconds: This will automatically promote a call (DNIS) ranked with a High Priority (1) to the Highest Priority (0) after waiting in queue for the specified number of seconds.
- Automatically promote calls with Priority 2 to Priority 1 after waiting (x) seconds: This will automatically promote a call (DNIS) ranked with a Medium (2) Priority to a High Priority (1) after waiting in queue for the specified number of seconds.
- Automatically promote calls with Priority 3 to Priority 2 after waiting (x) seconds: This will automatically promote a call (DNIS) ranked with a Low (3) Priority to a Medium Priority (2) after waiting in queue for the specified number of seconds.
...
Manage DNIS
Under Manage DNIS, you have the ability to view all DNIS entries, edit an existing DNIS, or create a new DNIS.
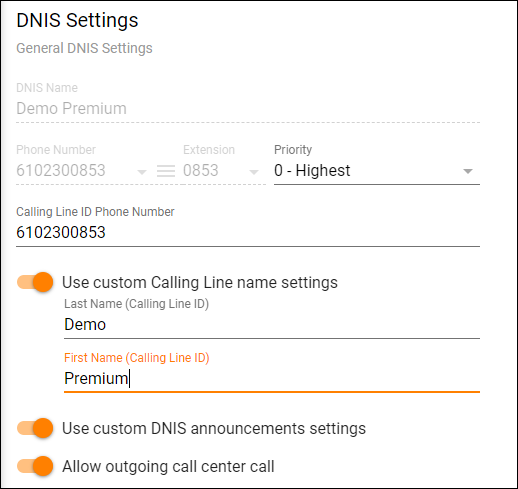
DNIS Settings:
Settings:
- DNIS Name
- Phone Number: The direct phone number of the new DNIS. This phone number can be provided to a specific subset of customers to dial into for a more “personal” interaction within the queue.
- Extension: Extension you want to assign to the DNIS so the customer could reach the queue through an Auto Attendant.
- Priority: If you have multiple DNIS entries, a priority can be set for each DNIS so calls and customers are handled in a specific hierarchical order – Highest, High, Medium or Low Priority
- Calling Line ID Phone Number: If you allow agents to make outbound calls and you want them to be able to display the number of this particular DNIS, you would put the telephone number of the DNIS here. This way if a caller see’s an incoming call, they will recognize the number as the same one they used to reach the call center
- Use Custom Calling Line name settings: The calling line ID that will appear to the agent when they receive a call from this DNIS
- Calling Line ID Last Name
- Calling Line ID First Name
- Use custom DNIS announcement settings: Activate this setting to use unique announcements specific to the DNIS dialed instead of the regular announcements configured for queue.
- Allow outgoing call center call: When enabled, agents are allowed to make outgoing calls to customers and use the DNIS as their outgoing Caller ID.
...
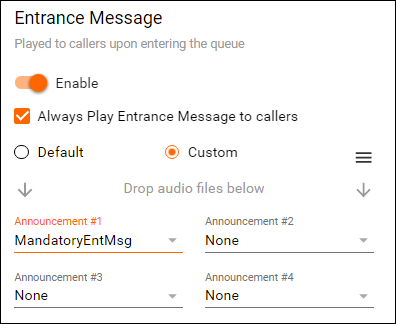
Callers hear the Entrance Message upon first entering the queue. The Entrance Message can be mandatory so that callers must listen to the entire message before sent to an available agent or played only for as long as it takes to get the caller to an available agent. The DNIS Entrance Message can be different from the general entrance message and only heard by callers who use the DNIS to dial into the queue.
Settings:
- Enable/Disable
- Always Play Entrance Message to callers: The caller will hear the entire entrance message before sent to an available agent
- Announcements:
- Default: System generated default message
- Custom: Allows up to 4 announcements to be uploaded. Callers hear the messages in sequential order.
...
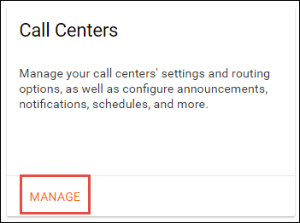
- Navigate to the Manage tab and Select Manage Call Centers
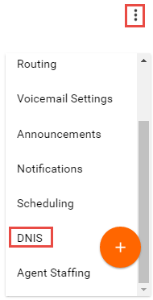
- Locate the Call Center you wish to add the DNIS to and select DNIS from the Call Center feature options
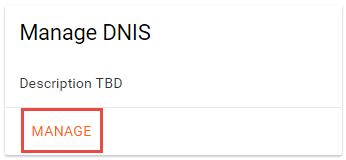
- Select Manage DNIS
- Select ADD to create a new DNIS
...
- To create a new DNIS fill in the appropriate information (as described above) for the following items:
- DNIS Settings
- Entrance Message
- Comfort Message
- Estimated Wait Time
- Music on Hold
- Call Whisper Message
...
